TLDR: Rendered.ai allows users to add their own 3D and 2D assets for use in simulating environments for synthetic data generation. In many cases, the specific preparation process for models will be unique to the synthetic data channel. In this example, we’ll discuss how to prepare 3D models as Blender 3.3 assets for use in a Satellite RGB Imagery channel.
Enabling Users to B.Y.O. 3D Assets to Rendered.ai
Last year, the Rendered.ai team implemented a capability to allow any user to create their own virtual space in which to put 2D and 3D assets for use in simulations. These spaces, called Volumes, are accessible both through the web front end of Rendered.ai and within workspaces so that the assets can be used with published channels to generate synthetic imagery. Users might want to add their own assets for objects of interest, distractor objects, scene context, or even 2D backgrounds that are useful with some simpler RGB imagery channels.
Volumes can even be shared among users, set up to contain third-party materials, such as from an outside vendor, and allow users to organize their assets. Partners can even configure volumes to limit whether assets can be downloaded or only used in our hosted platform.
Adding Assets to Generate RGB Satellite Imagery
One of our most popular channels has been a synthetic data application for near-nadir RGB satellite imagery. This was used, for example, as the basis for the channel that helped us win the NSIN competition.
When using synthetic data for object detection in satellite imagery, you will often find that you need to add new objects of interest or distractor features to your training data. This guide provides video walkthroughs to cover the steps required to prep, deploy, and edit 3D model assets for use within the RGB Satellite (SatRGB) synthetic data channel within the Rendered.ai Platform so that you can quickly add or change objects within your synthetic satellite image data pipeline.

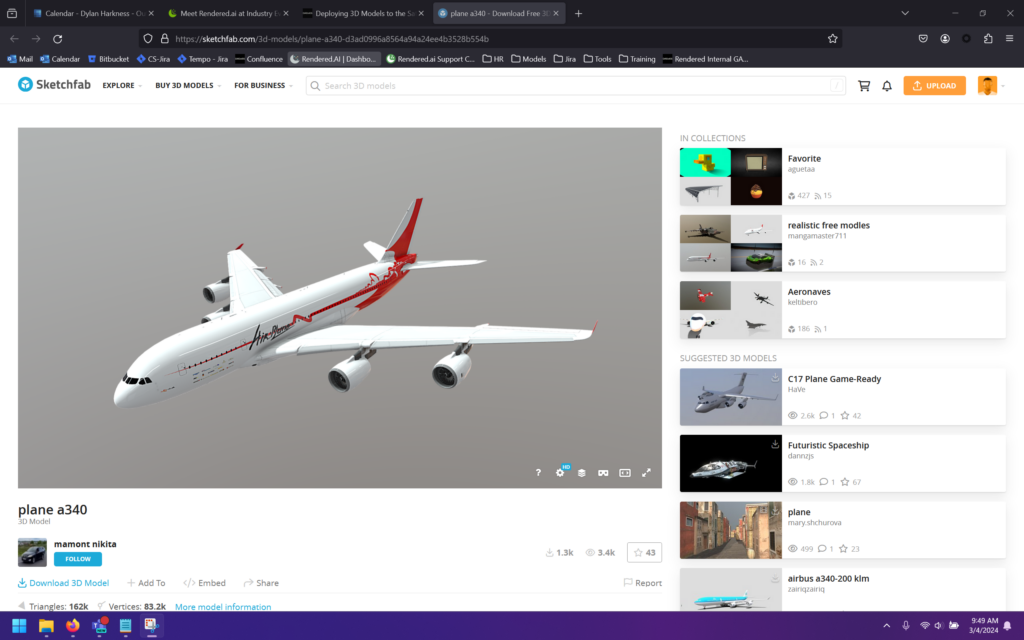
We’ll use this Sketchfab model for demonstration.
Preparing Assets
The SatRGB channel requires 3D models to be in the .blend file format, among other requirements. Below is a video tutorial on how to convert a 3D model from a .gltf format into a .blend file usable by this channel. If you follow along, please use Blender version 3.3, as assets created in newer versions may not work properly.
The following checklist covers what is necessary for an asset to be properly prepared for use within SatRGB:
- The asset must be a .blend file that can be opened in Blender 3.3.
- The file should have a single root object. That object can have child objects, which is common in .gltf files.
- The root object must be sized correctly.
- The root object must be rotated to face the -Y axis.
- Scale and rotation transform modifications must be applied to the root object.
- The root object must be in a collection.
- The root object and collection should have the same name, ideally the same as the file name.
- The root object must not be disabled in renders.
- If the root object or its children have textures, pack those external files into the .blend file.
Deploying Assets
Once you have prepared your assets, the fastest way to deploy them to the platform is by using the Rendered.ai web interface. Below is a video tutorial on how to deploy a .blend file to the platform using the GUI.
The following steps are outlined in the above video:
- On the “Organizations” page, click on your organization and then click Volumes from the resource dropdown to create a new volume.
- Click into a workspace in your organization and open the “Resources” window.
- Add the volume to the included volumes list.
- Navigate to the “Libraries” page and select the “Volumes” tab.
- Click on your new volume.
- Upload your file.
- Go to a graph and click the + button.
- Click the “Volumes” button in the + window.
- Click your new volume and then your new file.
- Link your new asset to the appropriate node, and you will be done.
Editing Volume Data in the Development Environment
You may also want to make changes to a model that is referenced by a channel on the platform. To do that, we can pull the channel code and mount the volume within our local developer environment to make these changes and push them up to the platform. Here’s a quick video on how to edit specific volume data in the development environment.
Using the steps outlined in this guide, you can now quickly adapt your synthetic data capabilities to meet new model needs and mission requirements for object detection in satellite imagery.
The Results
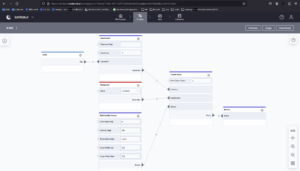
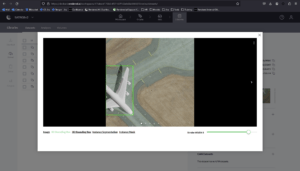
As you can see in the images below, the A340 model should be usable in graphs and should work for generating image chips with accurate labels. This is just one example of how users can take advantage of adding 3D models or 2D imagery to use with a channel on the Rendered.ai platform.

A graph showing how our A340 model will be used.

An image chip generated with our A340.


